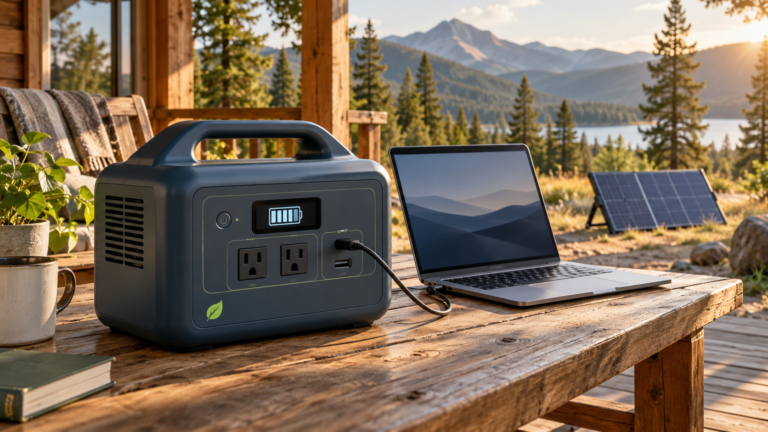

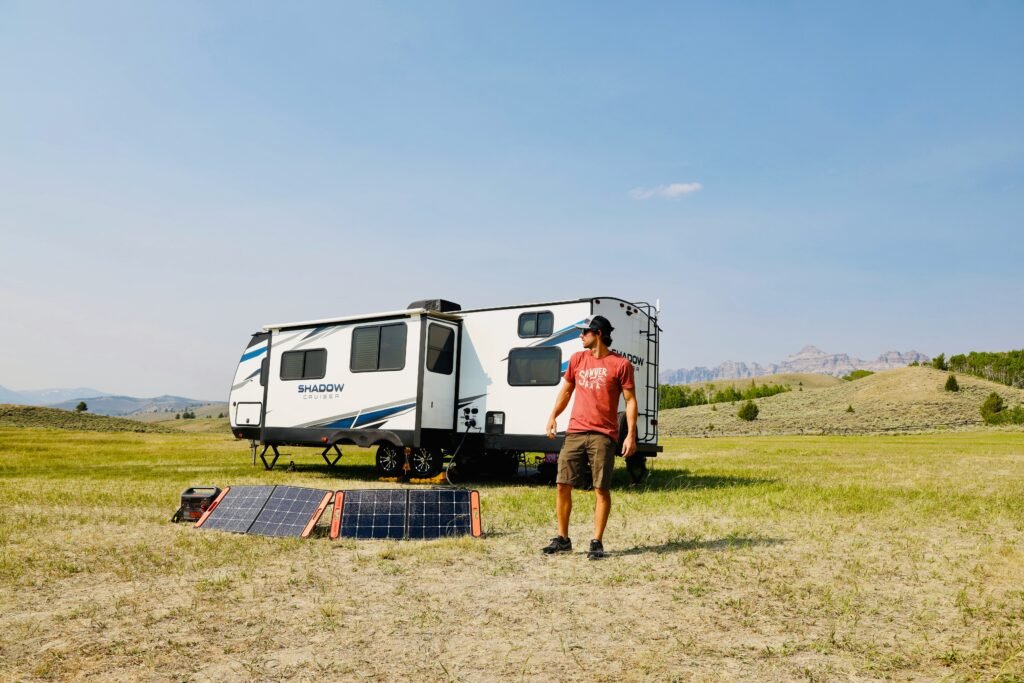
A folding solar panel and a portable power station can look like a complete system in two neat packages. Open up that idea, though, and several different components are doing the work: collecting power, managing charging, storing energy, and delivering it to your devices.
You do not need to buy every component separately. You do need to know which ones are included, which ones are missing, and whether they belong together. That distinction can save you from ordering an extra charge controller you do not need or discovering that your new panel arrived without the right cable.
This guide focuses on the parts that make up a portable solar system, from the panel on the ground to the outlets you actually use.
What is included in a portable solar system?
Most portable enclosed system, such as a power station, include the following components. If you’re building a modular system, you have more flexibility when it comes to selecting individual parts.
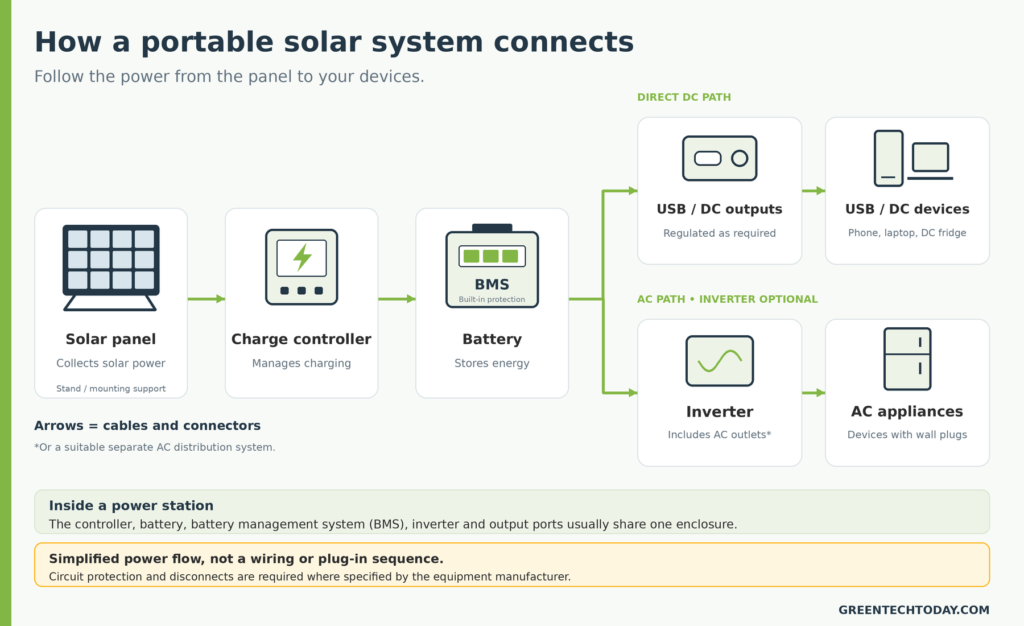
| Component | Its job | Where you usually find it |
|---|---|---|
| Solar panel | Supplies solar power to the system | A separate folding, rigid, or flexible panel |
| Solar charge controller | Regulates energy from the panel | Inside a power station, attached to some panel kits, or installed separately |
| Battery | Stores energy for later use | Inside a power station or in a separate battery enclosure |
| Battery management system | Monitors and protects a lithium battery | Integrated into many lithium batteries and power stations |
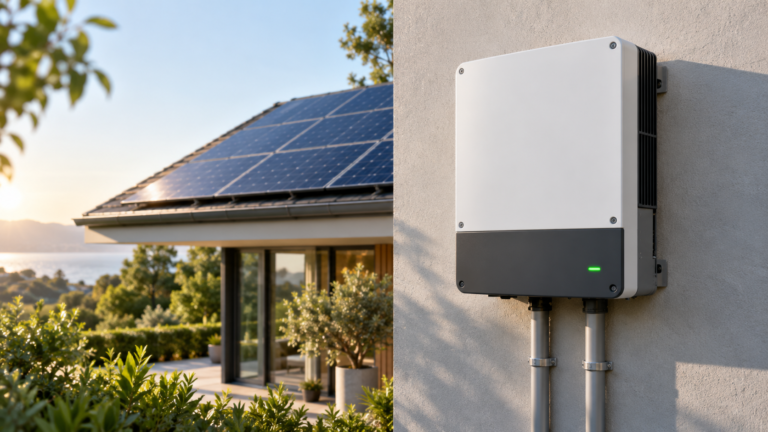
| Inverter | Converts electrical current from DC to AC for wall-plug appliances | Inside many power stations or installed separately |
| Output ports and distribution | Delivers energy to individual devices | A power station’s ports or a separate distribution panel |
| Cables and connectors | Links the components together | Supplied with the equipment or purchased separately |
| Circuit protection and disconnects | Protects wiring and allows circuits to be isolated | Integrated into packaged equipment or specified for a separate-component system |
| Stands and mounting hardware | Support and secure the panel | Built into the panel or supplied as accessories |
An inverter is optional if everything you use runs from suitable USB or DC outputs. A small USB solar charger may also work without a separate storage battery, although that is a much simpler setup than the battery-based systems covered here.
1. Solar panels: how power is generated
The panel is usually the most visible part of a portable setup. It is also the part you will unfold, reposition, and pack away most often, so its physical design deserves as much attention as its specifications.
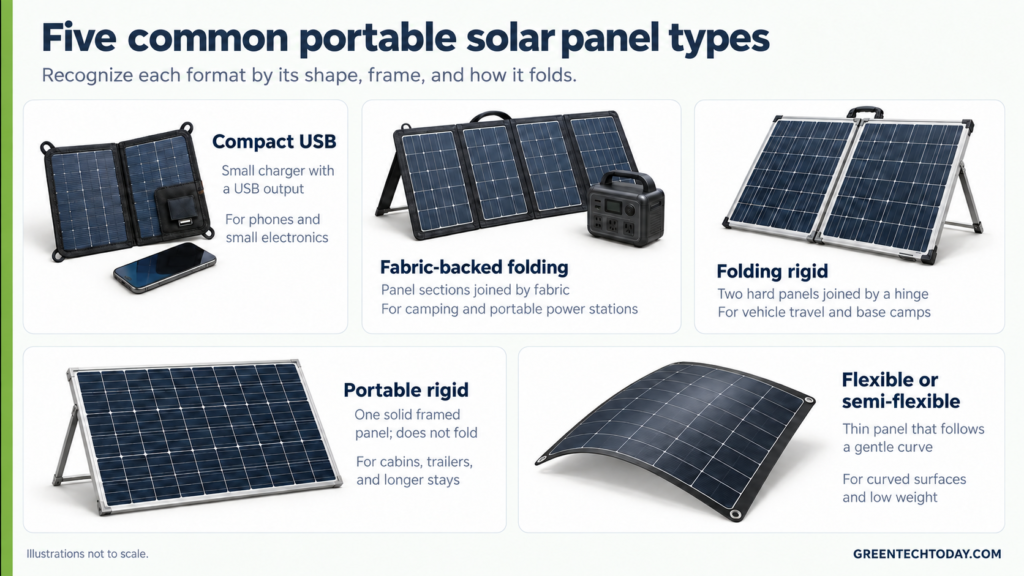
Folding fabric-backed panels pack relatively flat and are convenient for temporary setups. Check the hinges, stitching, handles, and cable storage. Those are the parts you interact with every trip.
Rigid folding panels, often called solar suitcases, combine framed panel sections with hinges and a stand. They can be sturdy and straightforward to position, but carrying one across a campsite is different from lifting it out of a product box.
Flexible panels are useful where low weight or a particular mounting surface matters. Flexible does not necessarily mean foldable, and some require a supporting surface rather than standing independently.
Before choosing any format, check what type of cable it uses. Some panels provide an unregulated DC solar output for a charge controller or power station. Others include a controller intended to charge a particular battery system, while small USB panels might have regulated device-charging outputs.
Those all use different connections. A panel kit designed to charge a standalone battery is not automatically ready to connect to a power station’s solar input.
2. Solar charge controllers: manages the battery’s charge
A solar charge controller sits between the panel and the battery. It manages charging according to the requirements of the battery and the limits of the equipment.
For a modular setup that you put together yourself, the controller must support the battery’s voltage and chemistry, as well as the planned panel arrangement. Its solar-input voltage limit is particularly important. Panel open-circuit voltage rises in cold conditions, so compatibility needs to account for that rather than relying only on a warm-weather label comparison. Victron’s controller installation guidance illustrates these checks.
You will commonly encounter two controller types:
- MPPT controllers determines the panel’s voltage at any point to harvest available power and boosts the charging current.
- PWM controllers use a simpler approach but are better suited for low power charging and extreme heat environments.
If you are using a power station with a built-in solar controller, that work is already handled inside the unit. You generally connect a compatible panel to its designated solar input, following the manual, rather than adding a second controller in between.
This is one of the easiest places to buy something twice. Check the power station’s included hardware before shopping for a separate controller.
3. Batteries: keeps power available after the panel is packed away
The battery stores energy for later use. In a portable power station, it is already connected to the charging electronics and outputs. In a modular setup, you select and connect a separate battery.
Two battery characteristics serve different purposes: storage capacity affects how long your devices can run, while charge and discharge limits determine how quickly energy can enter or leave the battery. A large battery does not automatically support a powerful appliance.
Lithium iron phosphate, usually written as LiFePO₄ or LFP, is one chemistry you will encounter in portable equipment. While not as common in portable systems, other lithium-ion chemistries and lead-acid batteries are also used. Each battery needs a charge controller that matches it’s type and voltage.
For a portable modular setup, look beyond capacity:
- Can you comfortably lift the battery?
- Can it be secured against movement during transport?
- What temperatures does the manufacturer allow for charging and use?
- Are terminals protected from accidental contact?
- Can the battery be replaced or expanded, and with which approved products?
Extra batteries also need a compatibility check. An expansion socket on a power station is not a universal connection for any battery you happen to own.
4. Battery management systems: protection inside the battery
A lithium battery’s battery management system, or BMS, monitors conditions such as battery cell voltage, current, and temperature. Depending on its design, it can interrupt charging or discharge energy when limits are reached, which helps keep cells balanced.
The BMS and charge controller have different jobs. The controller manages normal solar charging. The BMS supervises the battery and provides protective functions.
Having a BMS does not make an unsuitable charger safe, and it does not replace the wiring protection required by a modular setup. Think of it as part of the battery assembly, not permission to skip the other components.
In a packaged power station, you normally do not select or configure the BMS yourself. With a standalone lithium battery, check which protections are included and whether it requires communication with the charger or other equipment.
5. Inverters: supplying power for wall-plug appliances
An inverter provides AC power from the battery for appliances that use a household-style plug. It does not store energy, and it does not replace the solar charge controller.
Many portable power stations include an inverter behind their AC outlets. A modular system needs an inverter only if you want to power AC equipment.
Check both the inverter’s continuous output and its startup capability. A refrigerator or pump can briefly demand more power when starting than it needs while running. The battery, wiring, and inverter all need to support the load.
A pure sine wave inverter is generally the straightforward choice for broad appliance compatibility, but confirm both the appliance and inverter manuals agree. Also check the outlet voltage and frequency for the appliance you plan to connect.
An inverter can consume energy simply by remaining on. Some models offer an economy mode that periodically checks for a load, though very small devices may not trigger it reliably. Victron’s inverter operating guide explains this behavior.
If your devices can use compatible USB or DC outputs, you may be able to leave the AC section off entirely.
6. Output ports and distribution: where your devices connect
Your system needs the right ports and outlets to power the devices you actually plan to bring.
A power station may provide USB-A, USB-C, a vehicle-style DC socket, other DC connectors, and AC outlets. A modular system might use a fused distribution panel with separate circuits for lighting, refrigeration, and charging.
Match the outputs to your actual devices. A USB-C socket does not necessarily provide the charging profile or power your laptop needs. Likewise, several sockets may share an overall output limit rather than each delivering their maximum simultaneously. If output shared then the more devices you charge simultaneously, the slower they all charge.
For a camping refrigerator, check the DC socket’s rating and whether the supply is regulated. For a laptop, check the USB-C Power Delivery specifications. For multiple devices, check the combined limit as well as each individual port.
The useful question is not “How many outlets does it have?” It is “Can these outlets run my devices together?”
7. Cables and connectors: small parts with a large influence
A system can have a compatible panel and battery but still need a specific cable to join them.
Common solar connections include MC4-style connectors, XT60-family connectors, Anderson-style connectors, and various barrel plugs. Similar appearance does not establish compatibility. Connector dimensions, polarity, electrical ratings, and manufacturer requirements all matter.
Adapters can be used to connection cables with two different formats. However, just because they click together does not automatically mean that the cables are compatible. Be sure to review their specifications.
Cable length matters, too. You may want to setup the panel in an open sunny spot while the power station stays closer to you. Choose a cable rated for the equipment, outdoor conditions, and required distance. Longer cable may need a larger conductor size to control losses.
Before ordering a kit, check whether it includes:
- The panel-to-controller or panel-to-power-station cable.
- Any required adapter.
- Battery connection cables, if the battery is separate.
- Protective caps and a practical way to store the cables.
“Includes charging cable” is worth reading carefully. It may refer to the wall charger rather than the solar connection.
8. Fuses, disconnects, and enclosures: supporting safe operation
Packaged power stations incorporate internal protection, but a system built from separate parts needs its own properly specified wiring and protective devices.
Fuses and circuit breakers protect circuits against excessive current. Disconnects provide a way to isolate equipment. Enclosures and terminal covers help prevent accidental contact and protect components from their surroundings.
Their ratings and placement depend on the system. Do not choose them simply by matching the number printed on the solar panel. Follow the equipment’s installation requirements, including battery-side protection. Victron’s installation manual is an example of how those requirements are specified for particular hardware.
These parts may never feature prominently in a product photo, but they belong in the budget for a modular system.
9. Stands, mounts, and monitoring: making the system usable
A panel needs stable support, whether that comes from integrated kickstands, a folding frame, or suitable mounting hardware. Check how it stays in position and whether the manufacturer provides ways to secure it in wind.
Keep the rest of the equipment in mind as well. A weather-resistant panel does not make the connected battery, charge controller, or power station weather-resistant. Protective storage should not obstruct any built-in cooling vents while equipment is operating.
Monitoring helps you see what the system is doing. A power station typically combines a display with its charging controls. A modular setup may use a controller display, an app, or a separate battery monitor.
A shunt-based battery monitor measures current entering and leaving the battery to estimate its state of charge. It needs correct installation and configuration, but can provide more useful information than battery voltage alone.
How the components fit into a complete setup
You can bring these parts together in two common ways.
| Setup | What you connect | What is already combined |
|---|---|---|
| Panel plus portable power station | Compatible panel, cables, and your devices | Battery, BMS, charge controller, outputs, and usually an inverter |
| System with separate modular components | Panel, controller, battery, protected wiring, distribution, and an optional inverter | You will need to combine each separate component |
A power station reduces the number of separate parts you need to choose and connect. A modular system lets you select or replace components individually, but leaves more of the integration to you.
Before buying, write down the equipment you already have and identify its compatibilities. Then fill the gaps. You may need a complete charging system, or you may just need the right panel and one cable.
That is a much more useful starting point than a shopping cart full of parts that each looked good on their own but can’t work together.